 Loading... Please wait...
Categories
Our Newsletter
- Home
- IN Shop Jobs
IN Shop Jobs
CHECKOUT this page for regular IN SHOP pics and progress-tech info
KA24 BUILD
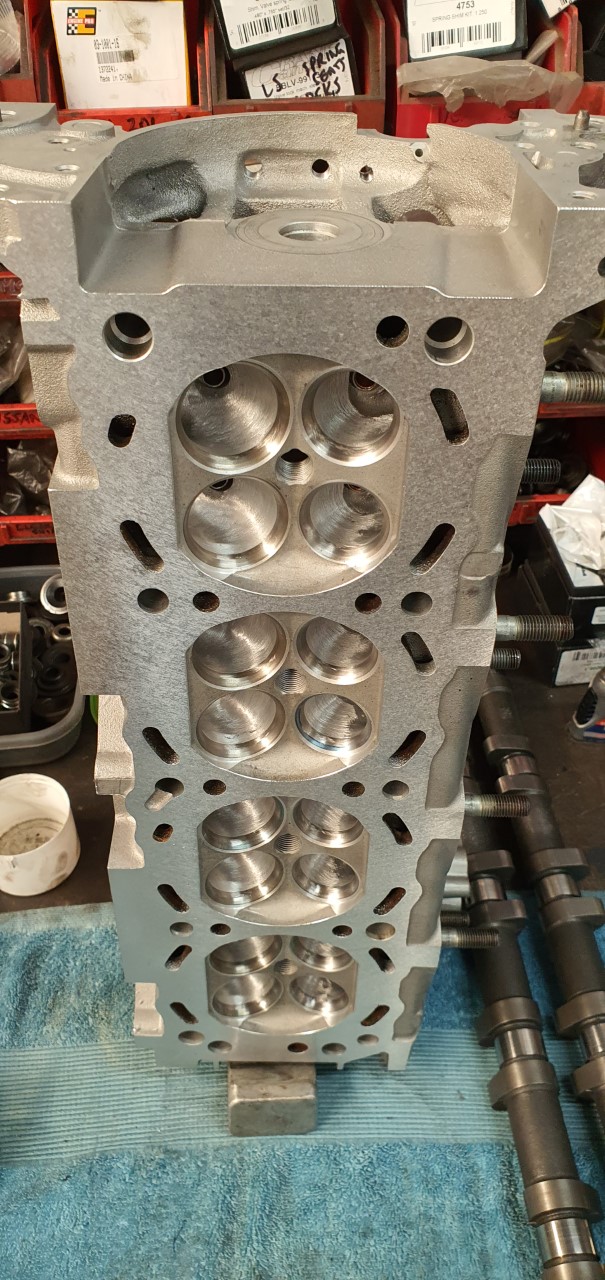
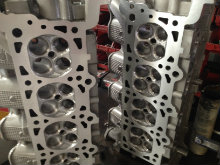
Head porting and mods,flowtesting 260ish plus cfm utilising a cnc seat job and full hand porting and gasket matching.
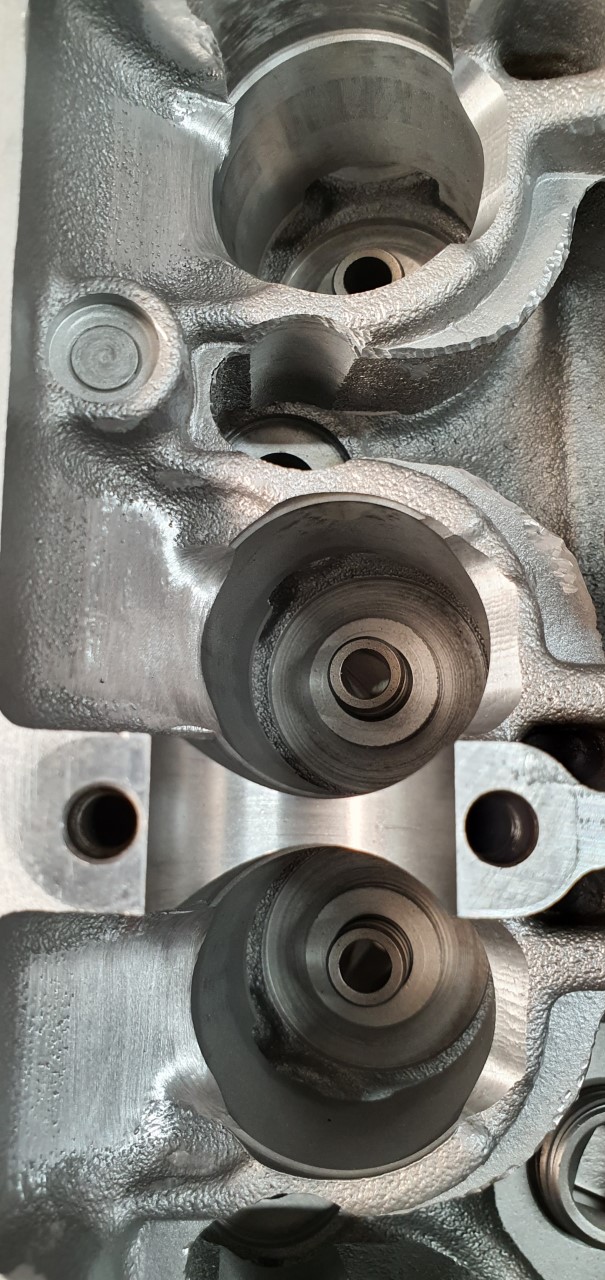
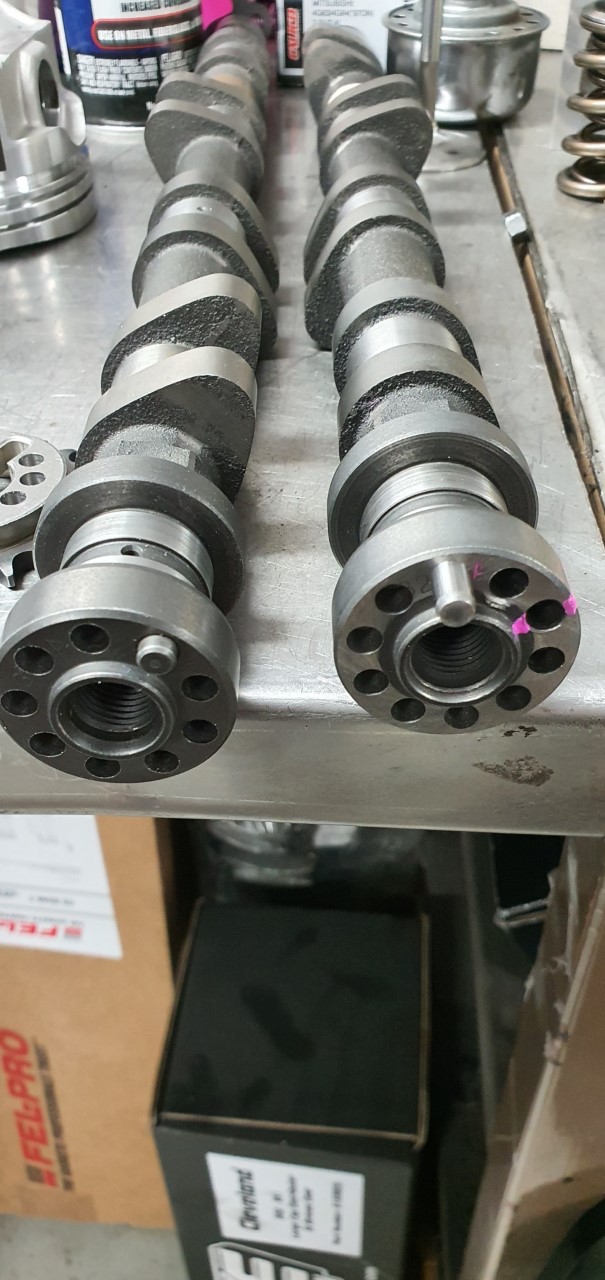
Lobe clearancing for a set of large Ivan Tighe camshafts
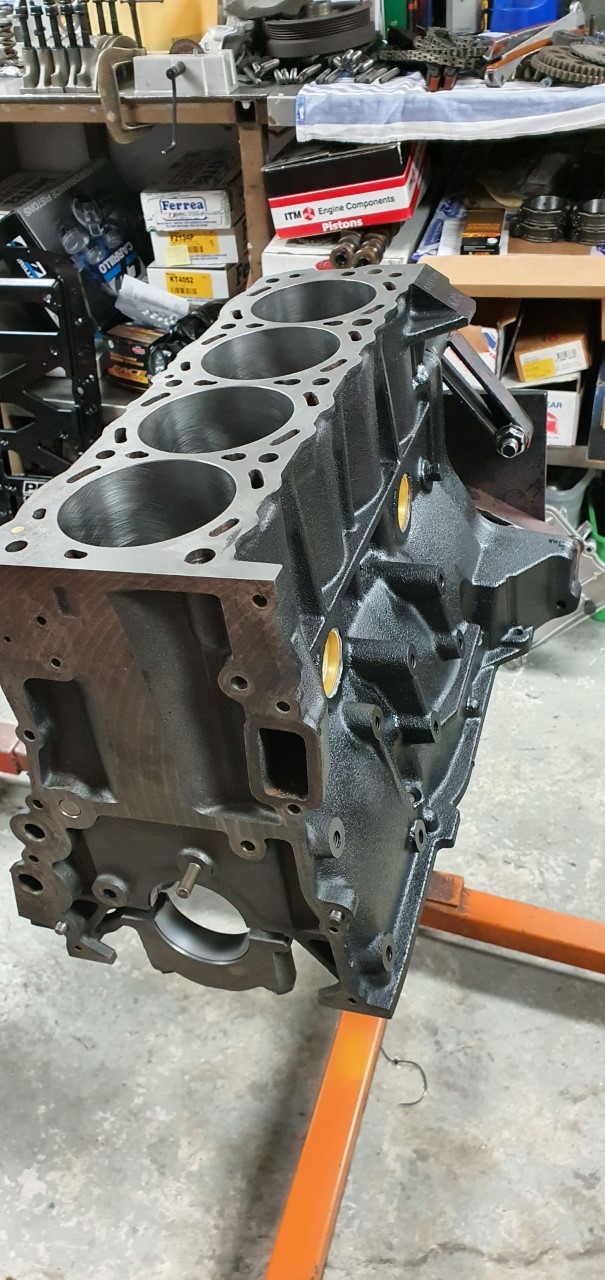
Block mods include,a full machine bore and hone to .5mm over and block deck and tunnel work.
Rods are resize with ARP bolts and vertical oil clearance is adjusted leaving the rod tunnel size on bottom size - perfect..
JOHN LEWIS --- LC TORANA RESTORATION
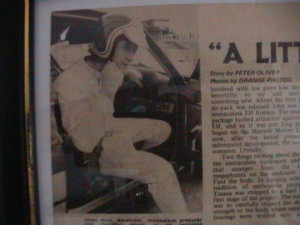
Recently purchasing my fathers LC Torana race car built back in early 1970- Ive bought upon myself a huge restoration job representing my rolemodel and the Maxwill Motors story.
The car is now in bad shape but metal work doesnt scare me. It is complete and original as my dad built it missing firewall,floorpan,engine and the like. However ive located a 4cyl torana body using it for a donor firewall and front floor section- other than this the car will be in its original "skin'' so to speak. I will document and show detailed pictures as the process goes ahead- very exciting rebirthing a car with full Australian Touring car ,Bathurst and Sport Sedan history.
My Dad having passed away in an aircraft accident in 1991 is not here to tell the exact specs of the build but i have family members and dads,friends also plenty of pics and magazine articles to go by in the restoration process.
The car went through a few stages in its decorum but i am going to restore it to what i think is the tuffest look it had.
Early sometime in 1970 the Torana S was purchased brand new from Freemans Holdens by my Grandfather Max Lewis. Founder of Maxwill Motors, my grandpop or ''poppalew'' as we called him ,was a succesfull businessman purchasing an ex coffin building shed and horse stable for funeral carts close to the CBD. Maxwill Motors was run by my pop up until around the late 60,s then handed over to my dad after he had finished his mechanical apprenticeship at ETSA. Stout move in those days to purchase a new car and do a full stripdown and raceprep. The car in its present form still has the original Torana LC compliance plates fitted Torana S 3 speed manual , blue interior, blue exterior.
Dad raced the car at many local events at Mallala and entered in the Australian Touring car championships in 71,72,73 and 74. Also Bathurst in 73 resulting in a dnf. Several childhood memories are very clear of events racing with Norm Beechey,Leo Geoghan,Clem Smith, Peter Brock etc. Also racing at Brooksfield dragstrip and Whyalla the Torana stretched its legs at dragracing and was no slouch running a 12.6 quarter time . The car soon earnt its reputation as a quick competitor and a very well setup and handling car.
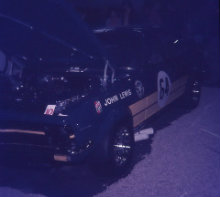
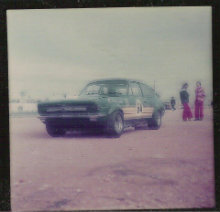
The above colour pic is the form in which i am going to restore it perfectly, cant wait to hear the ''scream coming out those two white megaphones''. Dad spent alot of time detailing and meticulously preparing the car people still talk favorably of to the day.
Uncle Ecky, who has recently passed away from cancer, often spoke about how ''poppalew'' had spent hundred of hours internally polishing the engine block,oil ways and the like. My pop being an ex aircraft mechanic therefore showing his meticulous prep work from that background. The original engine has long gone but i have located a 2600S block which dates to within 4 months of the original fitted engine----close enuff. Also purchasing a small chamber 161 head and steel crank. I am into the process already of the engine cloning and several steps are in process as per photos below.


The chosen 161 block was hot washed and then acid bathed to remove all coolant passage scale as along with the head. The original engine was bored out from 161 -3.375 to 173- 3.5 inch a .125 thou overbore ,netting a small but punchy engine. I could have gone 202 and got some easy horses but figuring back then they used what they had i will give myself as much a challenge ....Both block and head underwent cracktesting and inspection to make sure all is go for their new life together !!!!!
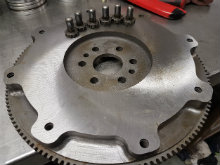
Ive picked a nice virgin steel crank which went through cleaning and cracktesting processes then drilled for ARP 7/16 chev flywheel bolts as the original crank was. Dad was running a toolsteel flywheel and triple plate clutch which now would be impossible to duplicate -cost wise- so ive opted for a lightweight steel item which has been surface ground and stress relieved. Ive chosen to run a single plate heavy duty clutch which will suffice as the car will never go through rigorous racing and is only intended to be used for demonstration and vintage events. The original engine produced 280 flywheel horsepower so todays quality single platers will be fine.
The crank journals have been ground and micropolished to exact .0025 thou clearance by an old friend Jim Gouck - Crankshaft Grinding Specialists.
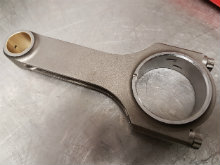
Choosing to run a modern style H-Beam rod was an effort. A nice set being kindly donated by SPOOL for the project. The originals where genuine XU1 type originally and in my younger days i do remember seeing a nasty set of polished factory rods with stock bolts !! Very nasty !!.
Block main tunnels where line honed to bottom tolerance for max bearing crush utilising ARP main studs. Doing a mock up to check for piston heights I found the pistons down the bore .045 thou level across the block. Allowing for the 5 thou rock in the piston we have decked the block so the piston tops are level zero with the block deck for max compression.
Spool have made me up a nice set of CP forged pistons with a special lightweight design and custom gudgeon pin- real nice stuff.
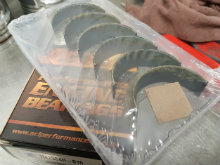
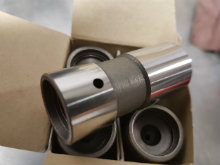
A good choice of bearing obviously was the ACL race mains, and the King XP race rod bearings. I consider the King on the rod journal to be a nicer choice as its Calico coating and quality for the load is great. As the little engine will be working harder than a Kings Cross hooker. Once again its not really simulating what would have originally being used but a wise choice is to go with 'modern tech'. Ive got a nice set of chilled iron based edge orifice Chev lifters which the lower pushrod seat being a good choice for lifter load. A nice Waggott 104x copy is currently being donated by Camtech Cams for the project.
The head got the normal welch plug removal and glassbeading in the waterjackets to remove all the bits of old scale etc. Giving the inlet ports the old 'pillarchop' was a nicety not doing it much these days and it really give the wrist a workout. I remember seeing some old prototype racecar heads out on the backshelf at the rear section of Maxwill,s. The vision is still imprinted in the mind helping me to duplicate the port design. Also fondly remembering ,as an early holden 6 modifier myself, whilst being caught out the back of the workshop prying into the old racecar stuff told by my dad ''leave that shit alone LEWY''......
Ive purchased a set of single piece stainless valves 1.675 intake and 1.410 exhaust nicely swirlpolished. Marking out the chamber diameter now to be throated and profiled on the Newen CNC machine with a multi angle seat and chamber cut ready for the lengthy porting process. Ive calculated to make the 270 -ish horsepower as a replica engine the airflow will have to be around 220 cfm @28'' mark. The 104 Waggott cam which was used will have around .520 lift once using a 1.6 ratio roller rocker should net approx .540 lift after tappett clearance. This will be about optimum as the valve to bore clearancing-eyebrowing will all be pretty tight. Chasing around 12 to 1 comp the stuff is gunna get maxxed out real time.


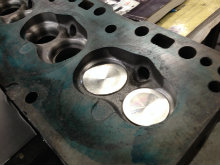
Head throated at 85 % valve diameter on the Newen CNC valvecentre machine with a lot of porting time coming up,chambers unschrouded to suit the 3.5 inch bore and a careful eyebrow grindup on the top of the bore will aid flow. I will makup a 3.5 inch flowtest plate and do an exact flowtest of the bore and chamber mods and eyebrowing as the engine will see it.
I did manage to locate the original Muncie gearbox and Harry Firth HDT bellhousing about 10 years ago . Purchased from the owner that succeeded my father in the early 80,s. The gearbox serial numbers 1970 corvette big block , and is in mint condition. Infact the original Mr Gasket Vertical gate shifter was in the boot of the Torana when i purchased the car ---- as if it was waiting for me --- with all intact linkages,bushes etc in perfect working order.

Working on the crankshaft ,now polished entirely- ready now for blueprint crankgrind on the journals. have to mod the oil holes and teardrop them to allow oil flow to start entering hole earlier. Not sure if this was done on the original but have seen several Holden 6 cranks dad had modded that way. Ive heard stories and read in a few old magazine articles how the crankshaft was highly polished - keepin up the tradition...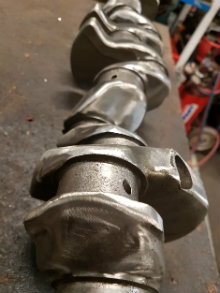
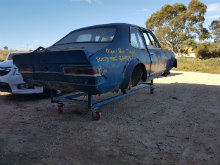
With the help of a few good mates we have made up a car trolley mounting the car on for ease of moving. This will allow stripping to bare body,sandblast and undercoat, metal fab-rust repair and even assembly to be done on the stand at a good work height.
Having a bit of a first up port the other Saturday,just blending the bowl and radiusing the guide boss was a fair good start to the head porting. The flow test resulted in 208 cfm @28 -500 lift with a 77% exhaust to intake percentage. I am concentrating on 500 lift figure as the cam will lift just over that region. All in all happy with the first grind up netting a potential 300 HP if the engine is 100 % volumetric efficient. I doubt wether it will be much over 85 % efficient at its best ,so i will attempt to finalize the intake flow at around 220 cfm if possible. This should give us the required 280 flywheel horsepower which the cars original engine was supposed to have.
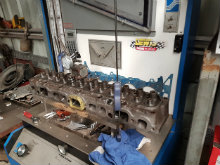
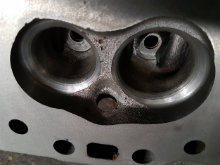
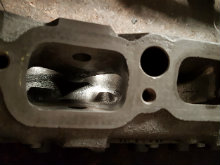
Pretty happy considering its still a full 9 port type head. I do remember seeing some of Dad,s prototype race car heads when i was young and the portshape is imprinted into my head not much different to where im heading.
Car as picked up early November 2016 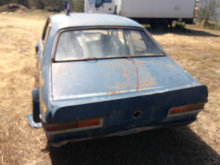
Drilled rear brake drums for cooling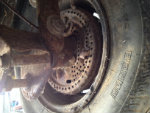
Lockheed front calipers as per original buildup, vented discs possibly HK monaro 350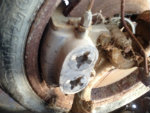
Rear Watts linkage setup state of art for the day most all parts hand fabricated 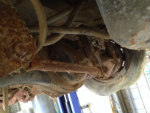
Koni coil overs all solid bushes hand made 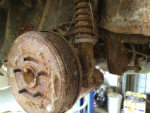
Appears to have original diff centre intact, lots of metal in the axle tubes when i took an axle out so verifying its a locker type ratchet centre. An early Australian Hot Rod magazine article explains its a 3.9 ratio. Would have been FJ holden gearset. And a locker centre and steel caps made by the late Bernie Phitzner- Phitzner Engineering.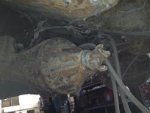
4 link rose jointed top and bottom arms,bottom in original position top moved over to wheel and exits thru floor 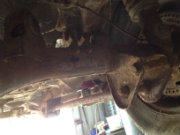
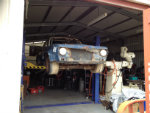
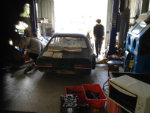
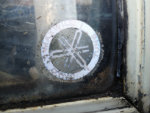
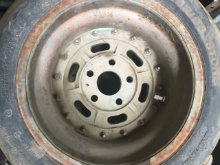
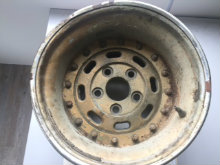
Recently Aquiring the original front rims was a great find, The left pic are the originals. They are a 13x8 -3 piece rim. Alloy centre with alloy halves bolted together. A bit beaten up but pretty thrilled to be able to locate the originals. The right hand picis the rears. A rear set of wider rims came with the deal but these are not the originals but i would say where on the car at sometime and will have to do as the style is close to the original. A resto of the rims is on the list once i find a reputable tradesman to refurbish them. Studying some detailed pictures of the car the centres where highly polished and the outer rims polished mirror finish.
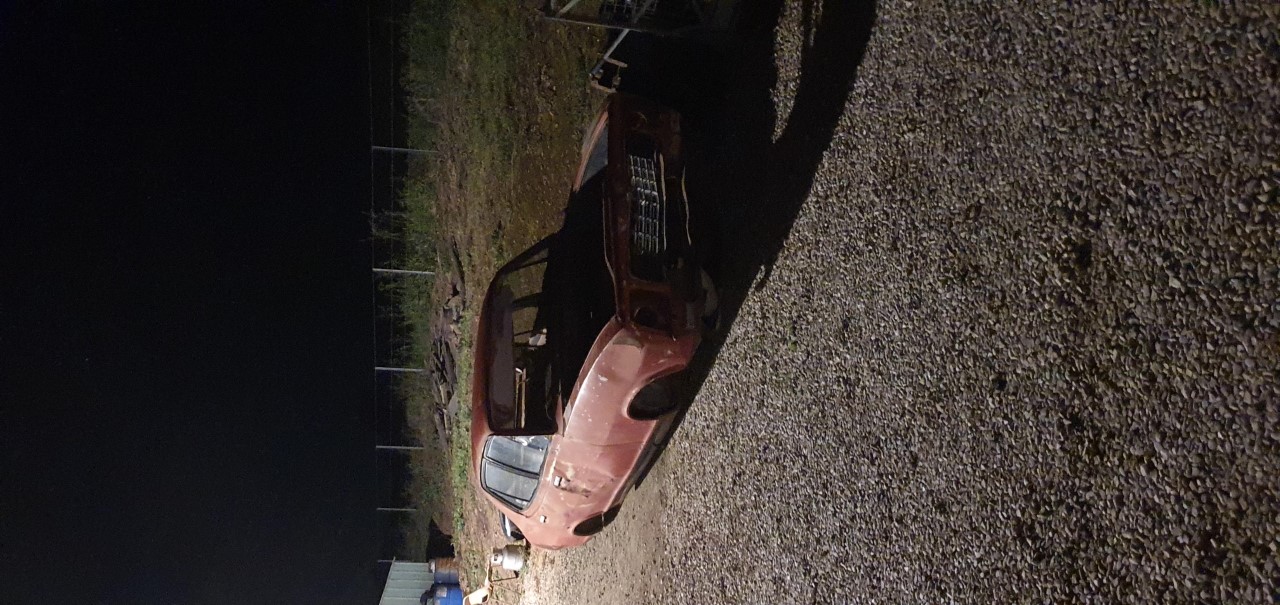
Donor 4 door body purchase which I am utilising for floor pan and firewall sections which have been cut out of Dad,s car.
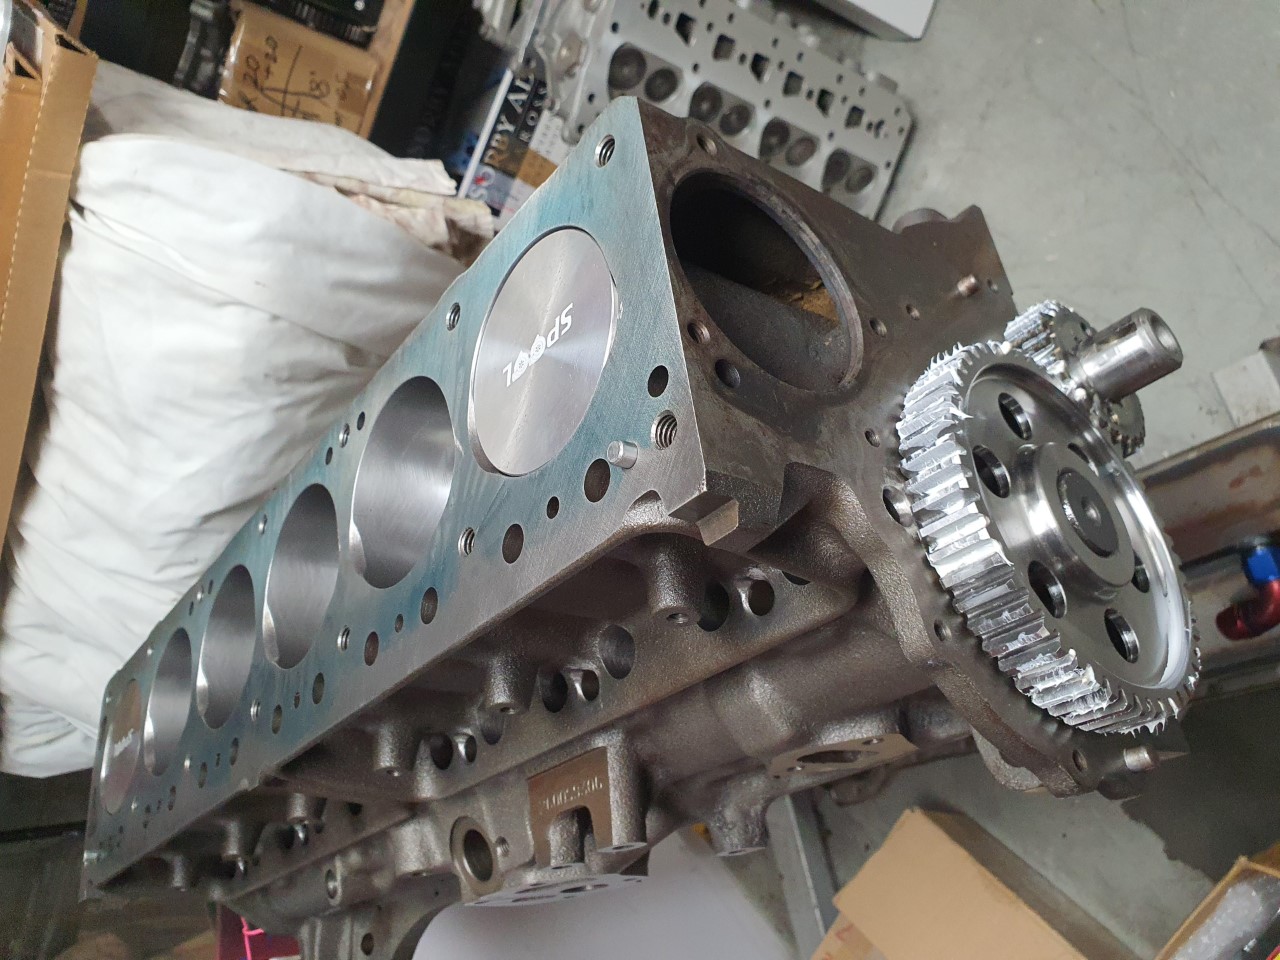
Short engine assembly stage all up to spec, cam dialed in as Dad taught me.............
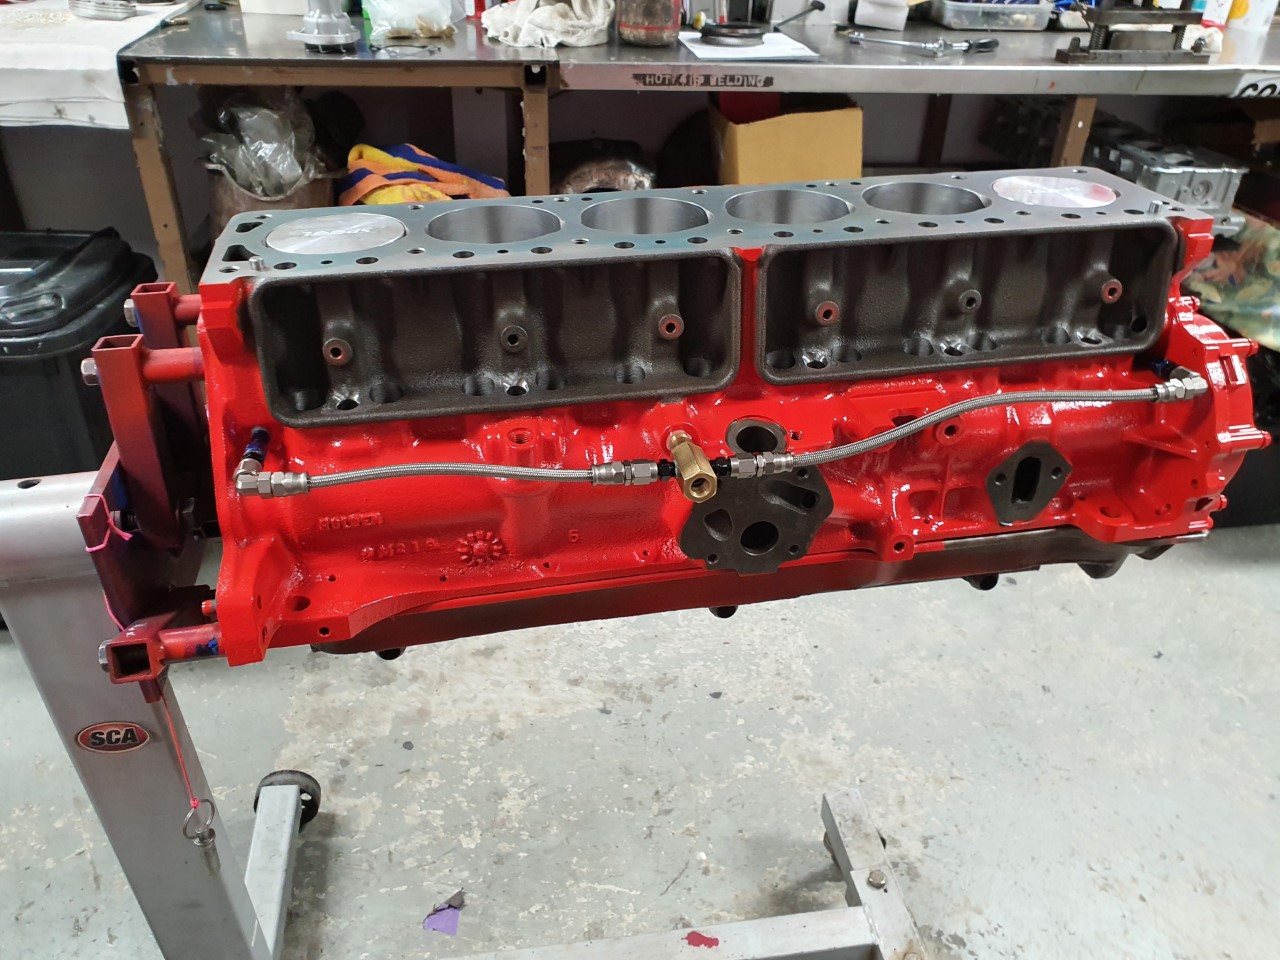
Short painted in Rocket red and fitup of external oil feed lines -in aid to send more oil to ends of oil gallery giving a more even oil feed.
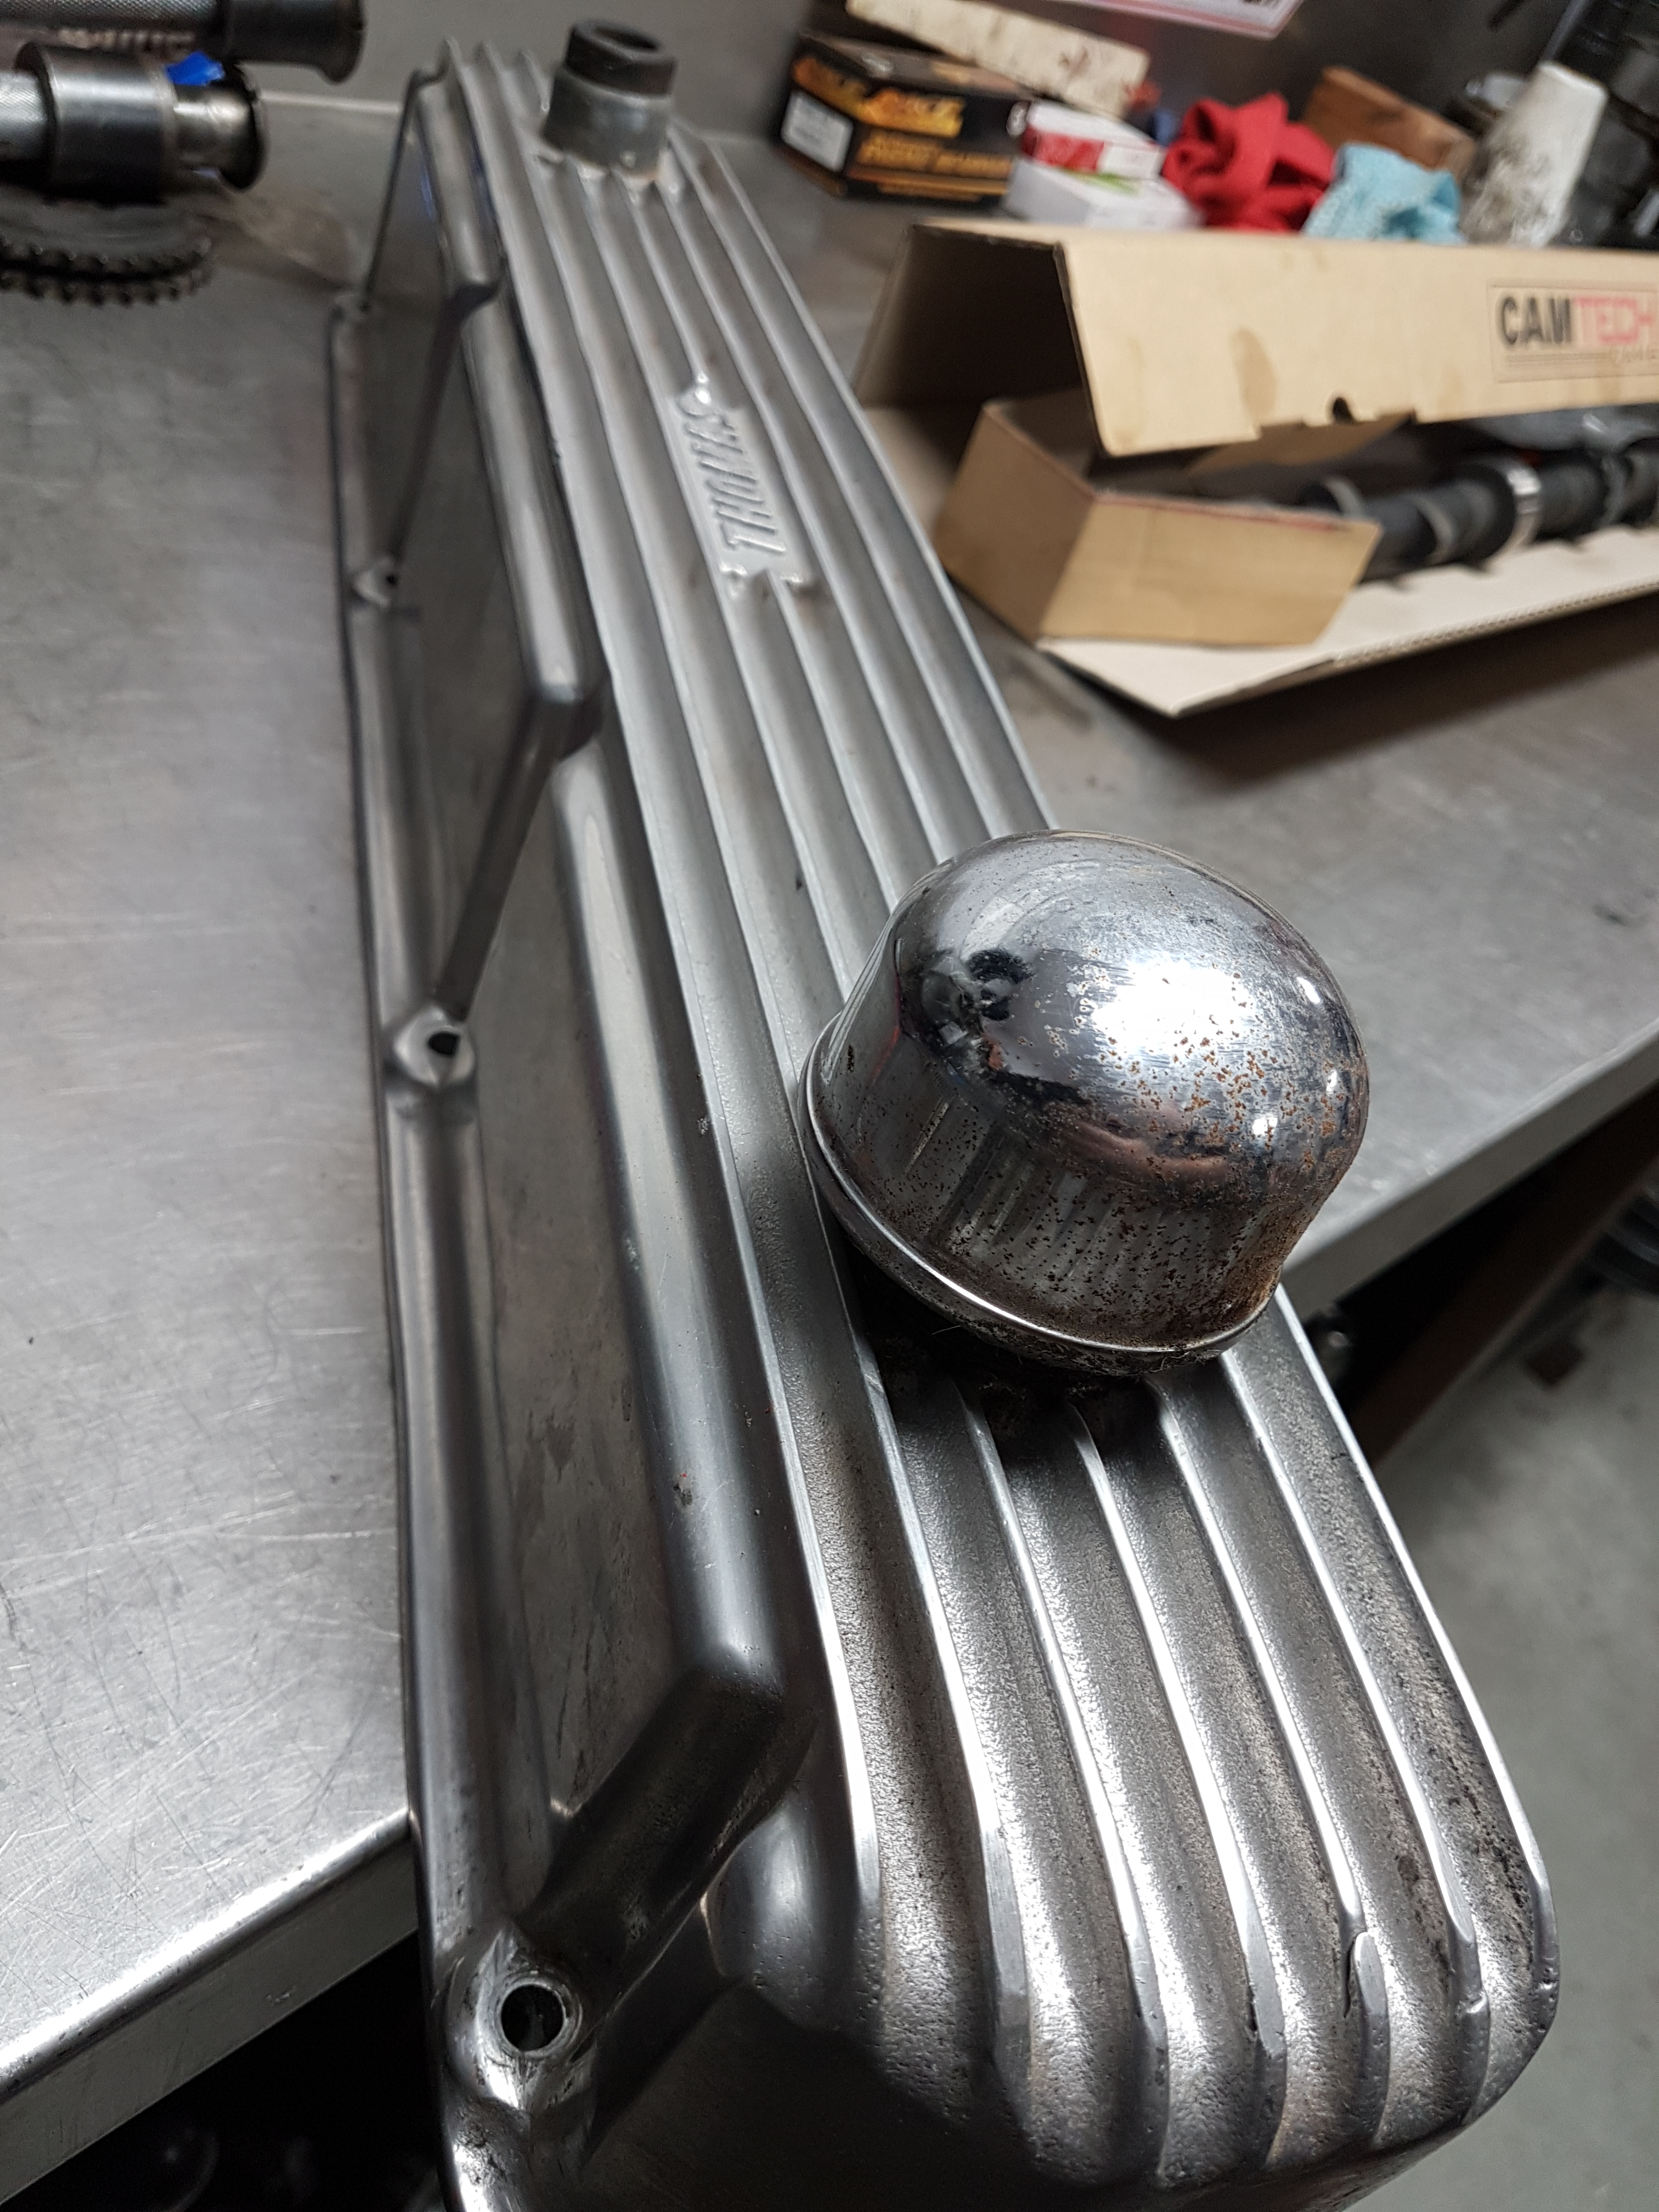
Nice swap meet purchase recently period correct Thomas alloy rocker cover. From the pics I have Dad originally had a steel original cover painted a crazy Purple color but I think this cover is a nicer prospect and very rare to find.
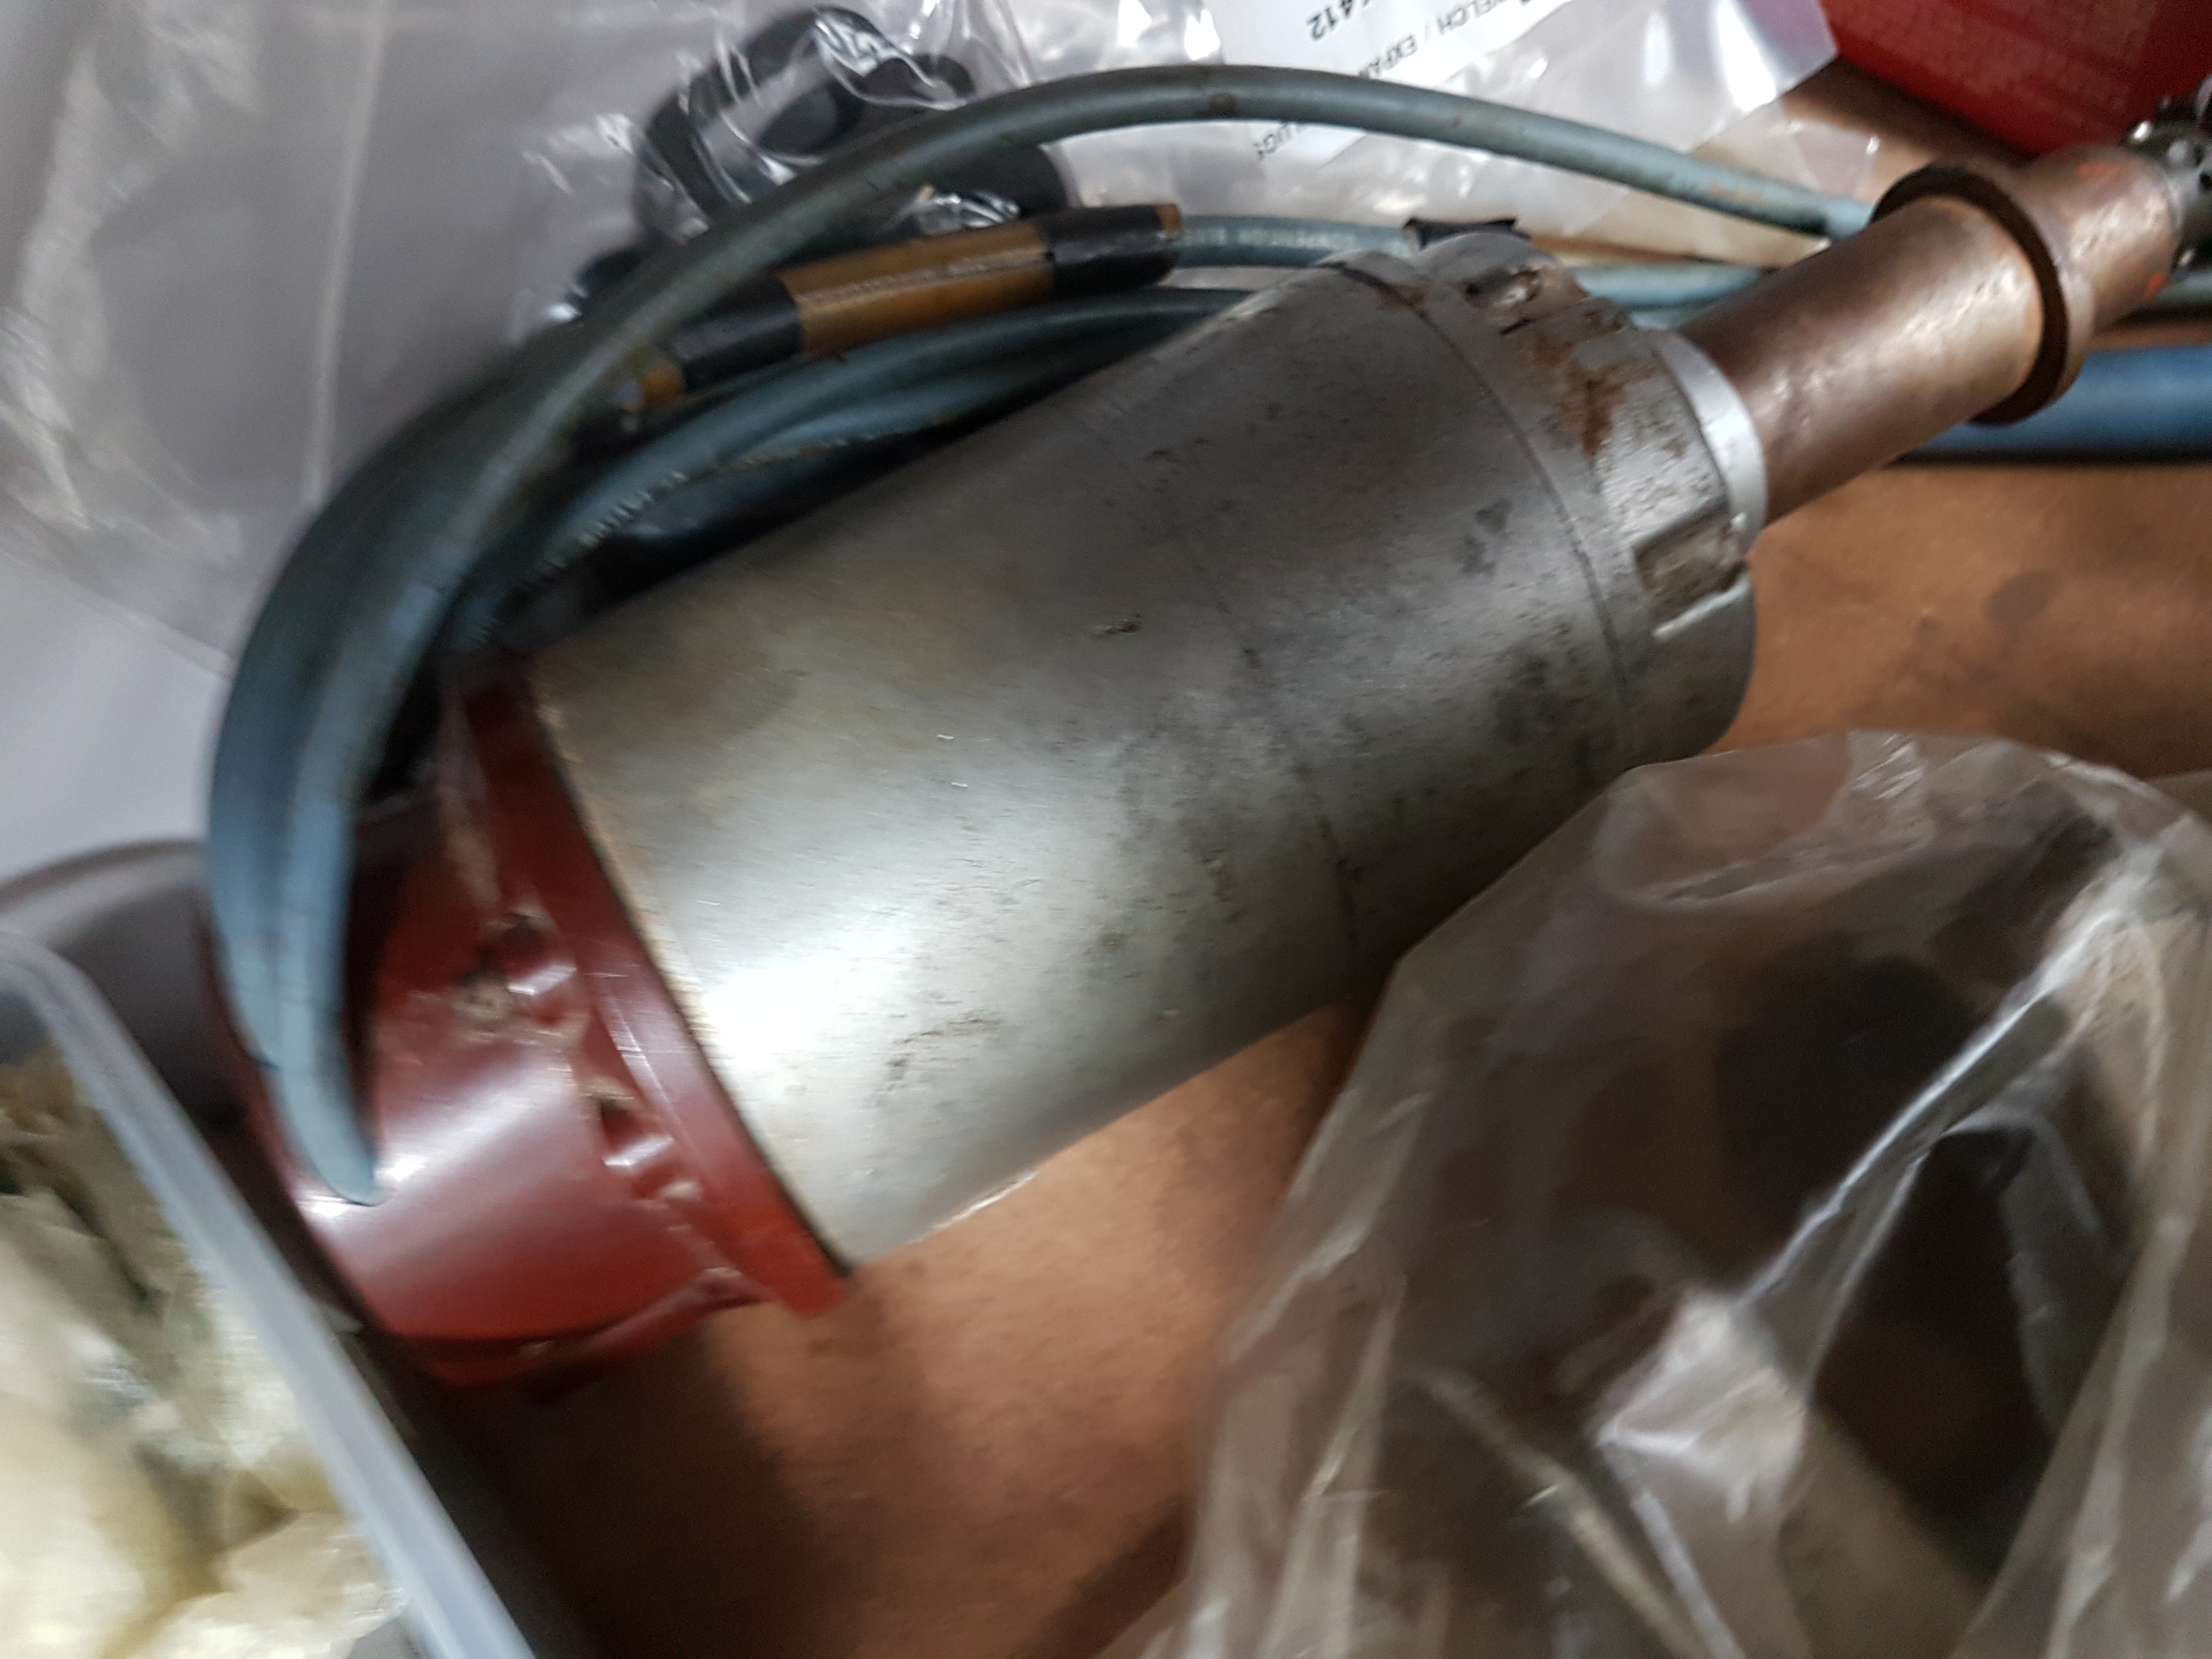
Vertex magneto I purchased for the project. Dad,s original magneto I had in my first car a HG Kingswood years back - should of kept it but was sold with the old engine years back so this one will have to be the candidate.......... Ive tested it works a treat on many unsuspecting people -the old 'hang on to this trick'. Will fitup some new leads and bob,s youre Uncle...
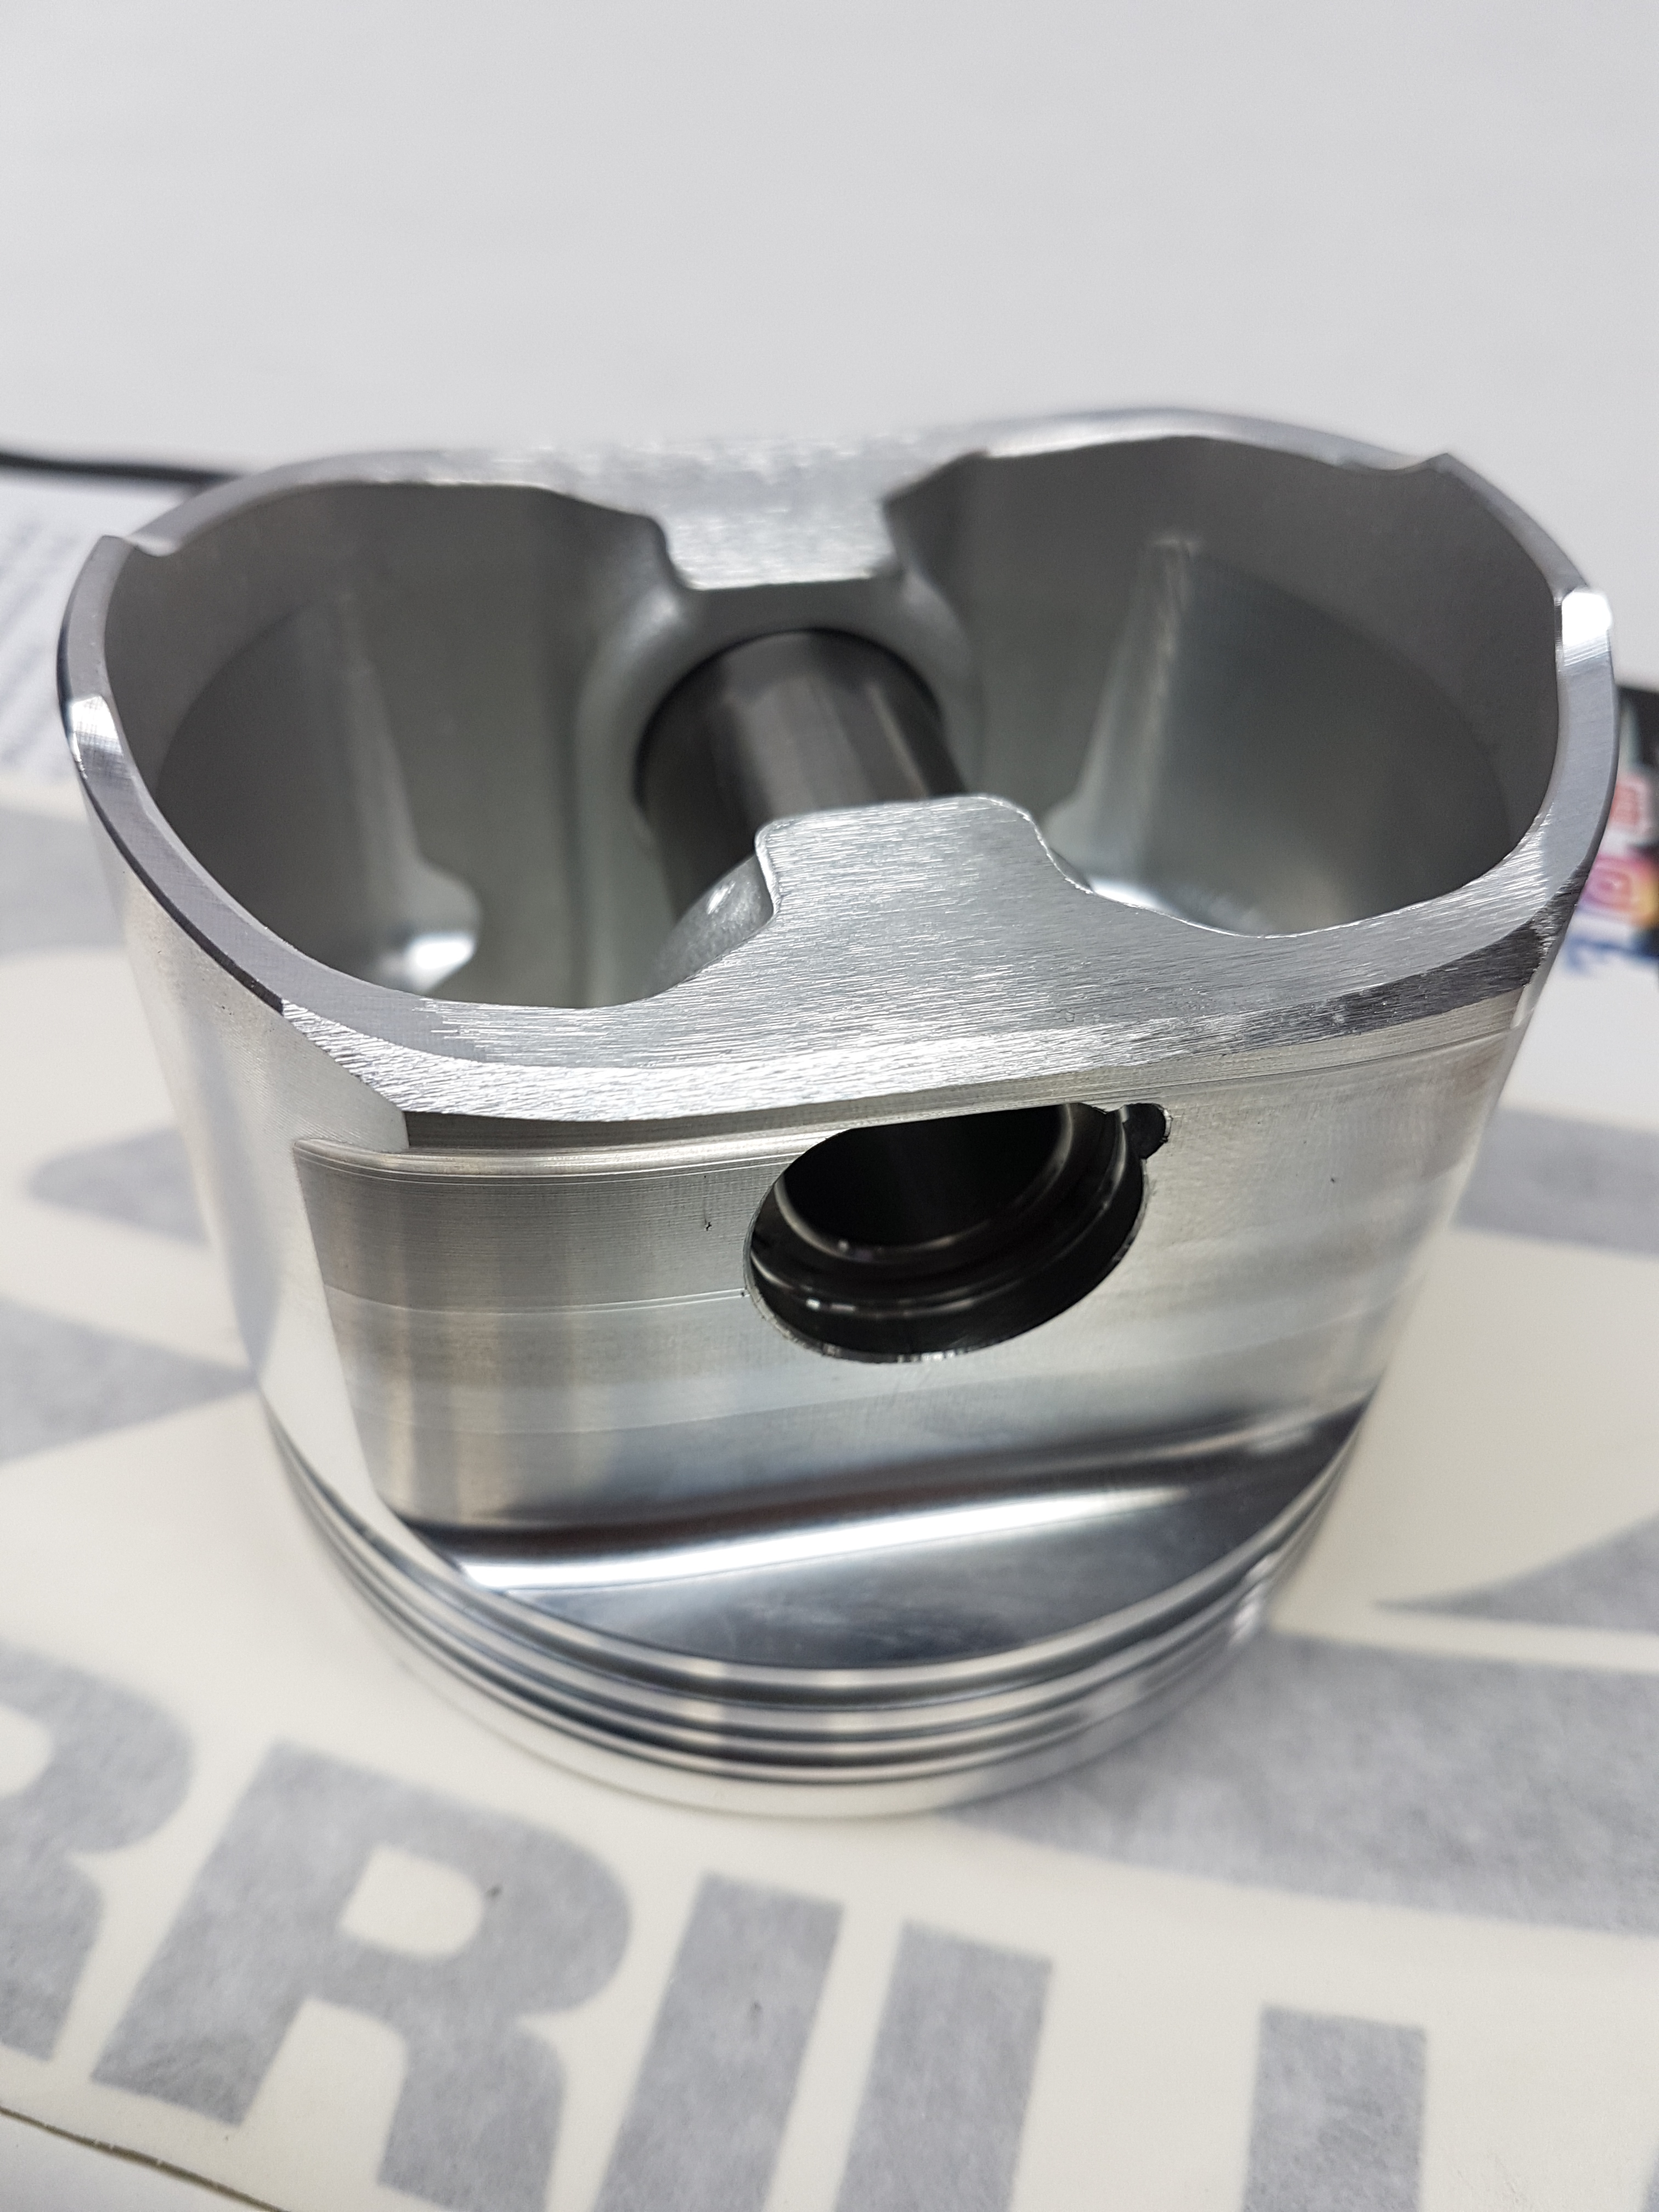
Custom made CP forged pistons I had made up for the job,.125 thou overbore from 161 cube with a Total Seal ringset and some lightweight pins.
-------------------------------------------------------------------------------------------
106 SCREAMIN EAGLE Fitup- 09 twin cam-nitrous oxide-
Fitup of a Screamin Eagle Stage 4 PRO 106 kit with a bit of a tidy up here and there to a low km-09 twin cammer.
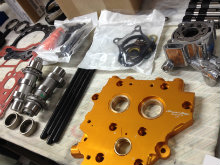
NX nitrous kit fitted to the intake manifold and using a billett cam reinforcement plate, new tensioner pads and torrington cam bearings. I also fitted up a Screamin Eagle hi volume oil pump.
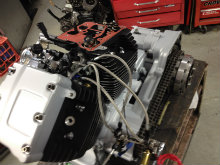
80 CUBE EVO build- 94 Fatboy.
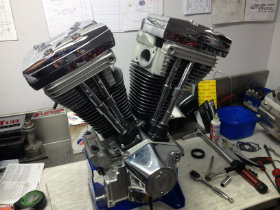
Bored and honed using honeplates to 40 oversize, factory replacement pistons and rings, refaced barrell gasket surfaces, 2 hole crankpin and new cages all resized to 1 thou clearance on the Sunnen rod hone. Brand new rod set and new pin bushes used. New rod side thrust washers and a crank rebalance and setup.
I used the customer old Andrews cam and lifters as the engine came apart for a rebuild after digesting broken crank rollers and pin material.
Using a full set of steel cometic gaskets and an S&S oil pump turned out a nice simple rebuild.
------------------------------------------------------------------------------------------------------------------------------------------------------
SHOVEL build 3-5/8 Revtech barrels- Ultima cases
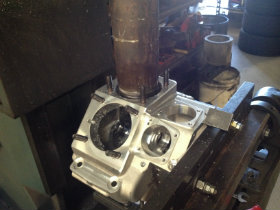
Using a new set of Ultima cases setting it up and boring the cases to suit the 3-5/8 barells.
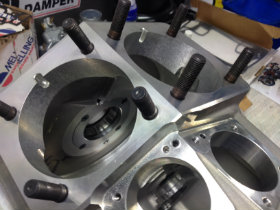
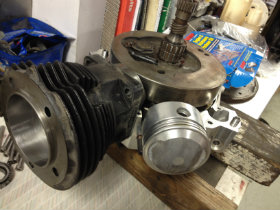
Getting the early shovel flywheel to fit in the cases was a chore now all turning well with plenty clearance. Running a new Timken set and new pin and cages and all clearanced to spec and honed on the Sunnen rod hone. The flywheels now have .012 thou clearance on the wiping area for the crank breather .
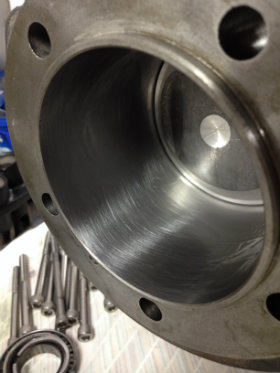
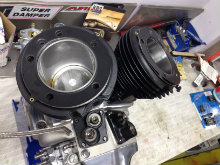
The bores are now honed correctly running .0025 clearance for the S&S 10-1 forged piston set. It was dissapointing to check the final finished bore from Revtech to be only 1 thou clearance - a recipe for disaster, now all corrected at 320 Grit hone finish.
Machining the heads to fit a set of JIMS compression release valves turned out real nice as with 10 to 1 comp and a kick start only, it will be nice addition.
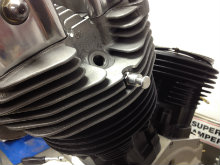
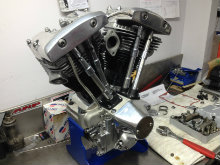
The final job coming together with a new S&S oil pump ,new points,ACCELL plugs and a recon job on the S&S super B carb. Camshaft is an Andrews solid.
Love these old shovel engines !!!!!
BMW STROKER ENGINE BUILD
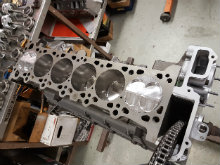
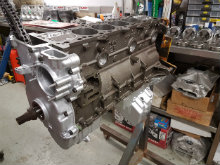
Rebuilding a BMW inline 2.5 litre engine and fitting up a later model crankshaft bringing it over 3 litre in capacity.
The block was chemically cleaned and bore and honed using a honeplate, main tunnels line honed for maximum bearing crush and crank blueprint ground undersize providing 2.3 thou clearance on every journal. H beam rods used and all internal balanced on my Chemb machine.
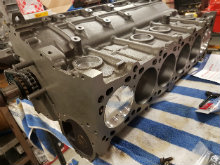
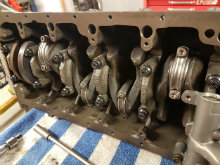
After careful washing and checking the Forged pistons and internals where assembled to the block. Sump was modified using a baffle and trap door system, new oil pump,tensioners and new chains.
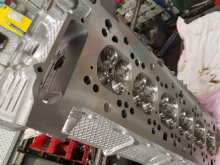
The cylinder head is now finished getting a complete portjob and flowtest along with new supertech guides,custom designed CNC valvejob and Supertech spring kit to complement the Schrick 280 degree camshafts.
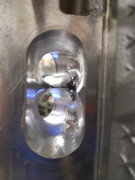
Flow test and porting turned out real nice having another shop flow figures to compare i was happy to result in a bit more low and mid flow than theirs with equal top end. The ports are still smallish and will be a nice combo.
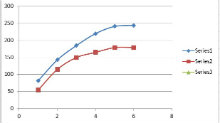
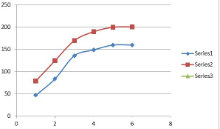
Flow graphs above are left-intake right-exhaust with before and after results.
.....................................................................................................................................
JOBS IN PROGRESS..........
5.4 MODULAR FORD STROKED TO 5.7 LITRE
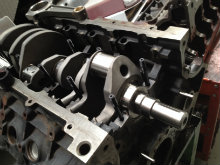
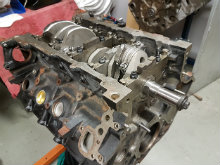
Careful blueprinting and line hone of main tunnels on small size for maximum bearing crush. Using ARP main studs and side bolts. Blueprintgrinding the crank for .0025 clearance using Clevite H-series bearings.
Paschal stroker 4.415 stroke billet crank,Manley i beam rods,custom JE forged pistons and a nice set of my ported heads along with Manley valves,springs,titanium retainers and colletts.
Utilizing a Kenne Bell supercharger this combos piston crowns had to be designed to provide the required comp ratio.
Having to make up a jig to hold the conrod bearings and narrow and chamfer the shells to clear the huge fillett radius on the Paschal crank. After spinning up the crank and internally balancing it and doing alot of grinding and radiussing of the counterweights to clear- the short block is finally assembled. Now requiring the fitment of the Mellings billett geared oil pump and Ford Performance chainkit.

MG TA engine restoration project.
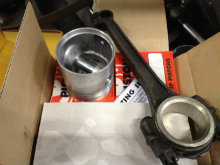
A pre-war MG TA rebuild is always a challenge as most parts are hard to aquire and most made from scratch. I am fitting a locally made full counterweighted crankshaft and after re-whitemetalling the rods the crank journals have been ground to give .0015 clearance. T he main shells where purchased from Brazil and after tunnel boring the main tunnels the fitup and clearancing worked out super. The engine block is having 4 sleeves fitted and going back to a standard size JP piston set.
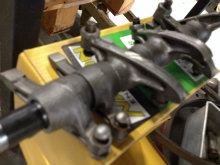
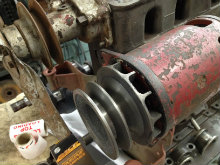
The alternator pulley has been cast from scratch and machined to look as original. The bottom crank pulley was non existant and is getting cast up and will resemble the original unit. The lifters refaced up very nicely and the camshaft being redressed by Camtech in Sydney. Ive located a new rocker arm shaft and made bushes for the rocker arms then machined the bushes and honed to fit, the end of the arms are then ground on an arc to duplicate the original shape after being stellite hardened.
Counterweighted new crank and front lip seal conversion with new cast up and machined front pulley
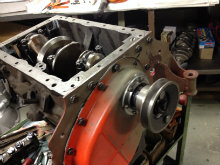
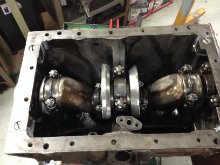
Engine startup went well, 70 psi oil pressure and a nice smooth running idle definately worth using the full counterweighted crank making a huge difference.
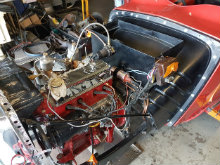

HT MONARO restoration
Over the years i have seen alot of car restorations done at a huge cost and poorly done.Undertaking this restoration for a customer i have set a goal to show how it can be done mostly yourself in youre home workshop at little expense. Of course you will need well chosen reputable proffessionals to complete some tasks but 75% can be done if youre handy with metal fab.,. This can be most enjoyable and for most very rewarding.
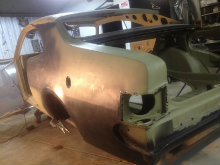
Rear quarter skins where spot drilled off and car completely stripped.
The rusty coupe and 4 door floorcomplete where sandbasted and then epoxy primered.
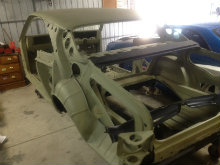
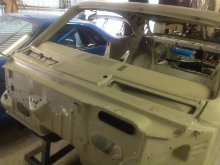
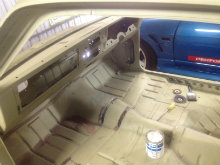
Firstly drilling out thousands of spot welds and replacing the complete floor and boot=firewall area with a mint floorpan donated from a HT premier. I was lucky enough to locate a complete HT premier with rust free bottom and using many other parts which are interchangeable with the coupe. Y frames where perfect with a sandblasting and a few rust repairs ready for paint. The twin headlight front headlight aprons where un stitched and replaced with some aquired coupe single light units.
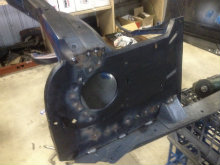
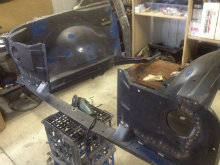
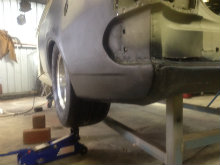
To the frame rail rear wheel tubs where fabricated,welded in place,seamsealed and black body stoneguarded. To aid in the fitment of 275 M&H tyres on Centreline satin finish 8-1/2 deep dish rims. The idea here is to move the wheels in board and produce a custom length diff, to have the rear guard squatting nicely over the tyre giving the old school drag race look we all love.. The car body was fitted to a rottissery and underfloor was seamsealed, stoneguarded straight onto the epoxy primer .
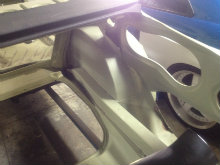
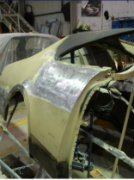
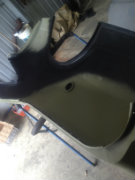
While the rear outer quarter skins where out getting proffessionally rust repaired I decided to start work on the y-frame frontal area. Picking the y=frames up from the spray shop was exciting as it opened up a new chapter in my resto. The frames where prepared then finished in a satin black 2 pack paint looking exactly like the factory finish superbly painted and prepped by Ben Short with many thanks.
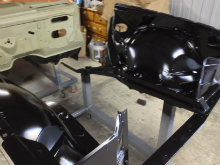
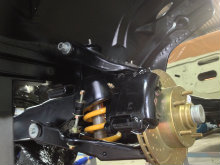
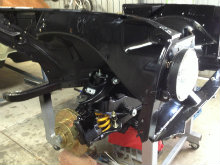
The complete front end sub assembly was carefully stripped and all parts where once again sandblasted and painted in 2 pack satin black. I used all new balljoints and bushes,manufacturing a special tool so on assembly nothing was scratched. New grease nipples,wheel bearings,PBR slotted HZ discs, recon calipers,King factory height springs, Monroe 90/10 front shockers ,Whiteline heavy sway bar and all new steering ends,idler and tie rod ends where fitted up.
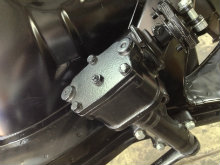
After sourcing a real nice steering box that also was rebuilt by myself with a Rare spares o/haul kit and Penrite box grease. Also repainted in satin black to keep the factory original theme.
All bolts and washers got the re electroplating by A1 metal finishing. Final touches like new rotor grease caps and new crossmember bushes finished off a proper resto job. Once again not overpriced -half baked by so called proffessionals - but done by myself saving thousands over a resto shop build price.
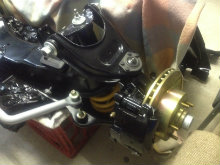
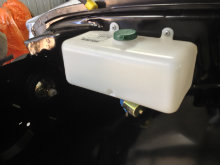
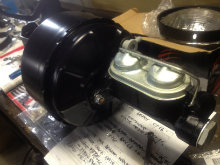
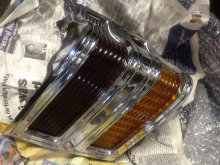
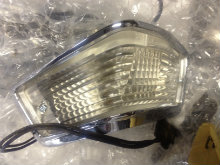
I decided to keep most parts original satin black and kept the brake booster and master the same.The big nut master was stainless sleeved and all brand new NOS internals used.Once again all metal bits and bolts refinished in original electroplating style. Rear taillight and blinker surrounds where rechromed by Aclass and assembled with new gaskets,lenses and globes.
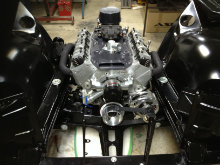
Getting along well with the business end is an all alloy Donovan 414 cube small block which i have freshened up and after alot of detailing has taken its part well in the front end. I have had this engine in my posession for 20 years once residing in a previous HT monaro running 11.0 and also in a LJ torana i once raced running 9.20 with nitrous oxide. The engine now produced 600 hp at engine and has been dynoed at Bill Hanson Engine Developements several times producing 590 ftlbs of torque. Turbo 400 race built box and TCE race convertor and Moroso fabricated pan will enjoy getting torn apart by this N/A torque monster.
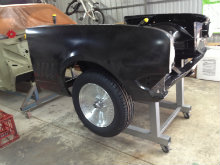
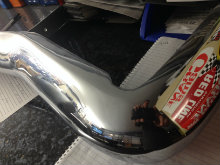 The front and rear bumpers have been prepped and chromed by Aclass metalfinishing in Lonsdale. They are $1700 each but the quality of workmanship says it all, brackets have been replated and the button bolts are a new rare spares item.
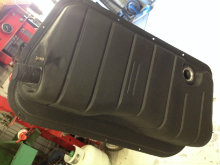 Finished fuel tank with stoneguard protection and bottom well with 2 #10 outlets.
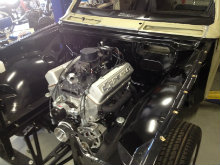 Painting of the firewall turned out spectacular Thanks to a reliable friend Jason Semmler using Dupont 2 pak satin black and is a perfect color match to the y frames and inner guards. After careful placement using new y frame bolts and alignment pins the front end sat in situ with perfect alignment.
 Moving along with the doors,one door has had a complete new bottom section welded in. The old skins where removed, doors glassbeaded, epoxy primed inside and out and after the patch repair all welding internally was ground smooth and epoxy primed for rust protection. The new door skins are sitting loosely in place to allow perfect alignment once dummy fitted up to car and style line is laser lined up with guards and rear quarters. Once this is done the rear quarter skins can be fabbed to suit..
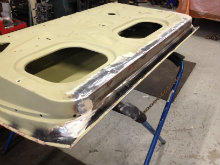
Rear bootlid has been prepped,shrunk,stretched and undercoated primer ready for paint after a previous resto shop had it glassbeaded and the panel was distorted . To resurrect this 100% rust free bootlid was a mission and it really can be seen that in the wrong hands these priceless panels can be destroyed easily. I would recommend any bonnet,bootlid,roof etc to be soda blasted or done by a reputable guy that knows his blasting,removing the paint is one thing but buckling the panel under excess pressure and blasting heat can near destroy it.
Picking a good set of door hinges from about a half dozen doors then glassbeading and fitting new pins. I am also manufacturing new bottom hinge rollers for the spring and arm mechanism.
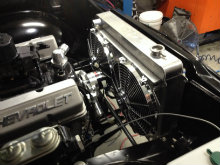
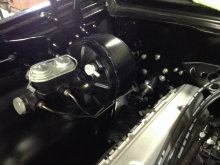
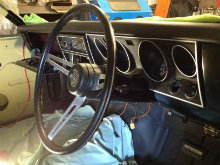
Now next step is to hang all panels ,bootlid, doors and new door skin alignment for style line. square everything up modify whats required for door gaps after the previous attempt doing the original quarters was destroyed by an unproffessional Mt Barker resto shop.
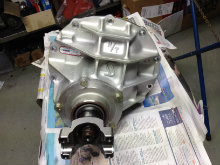
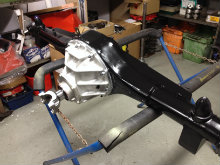
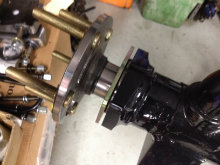
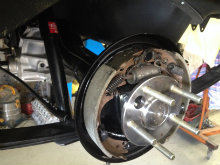
Diff centre is a Strange alloy unit with Mark Williams 35 spline billett spool and pinion support built by Richard @Diff and Trans SA. Moser custom axles,custom housing with full back brace and 2 inch lowered mounts made by Rodtech. Large wheel bearings,long wheel studs along with HZ rear drum brakes all completely rebuilt with new wheel cylinders,pads and drums. New rear handbrake cables and in house custom rear brake lines. Having kept a set of reset rear leaf springs left over from an old monaro i had in the 80,s i was pleased to see once car was sat on the ground the rear setup was better than imagined. Sitting at a perfect height and rear tyres missing inner wheeltubs by 5mm.
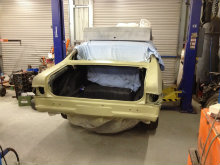
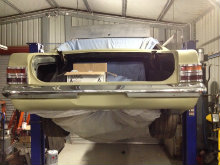
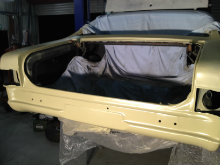
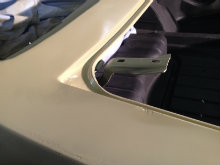
Rear quarters are now on and aligned,plug welded and prepped. The help ive recieved with this from a few good tradesman is very appreciative and the end result gratifying. Spending time with some old mates is truelly what i am gratefull for. The rear is epoxy primed PPG and now ready for the next process.
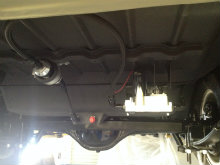
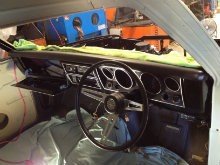
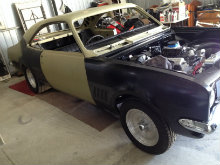
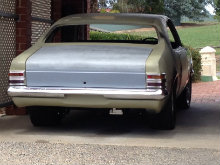
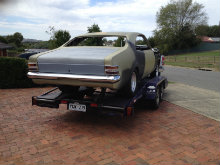
Special thanks to Romano at All type Restorations meticulously finishing the rear panels and fitup of doorskins and door gap work. Countless hours of manipulation to get all the lines and door gaps perfect. Romano had to redo and fix some previous rubbish done by another mount barker monkey workshop. Romano is one of the true old school metal finishing experts and it shows in his work. I would highly recommend any restorer to go there first-it will save money.
Painting final color in PPG acrylic white allows my painter to paint panels off the car then prep the rear quarters and final paint. My painter is another well earned reputation italian perfectionist. Meeting him at last after hearing of his ''killer'' paintjobs thru the 80,s and 90,s. After some arm twisting he approached me to final prep and paint the car ----very excited as ive seen his work and end result for years...
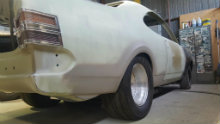
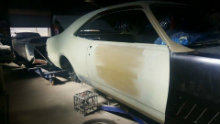
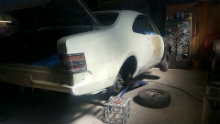


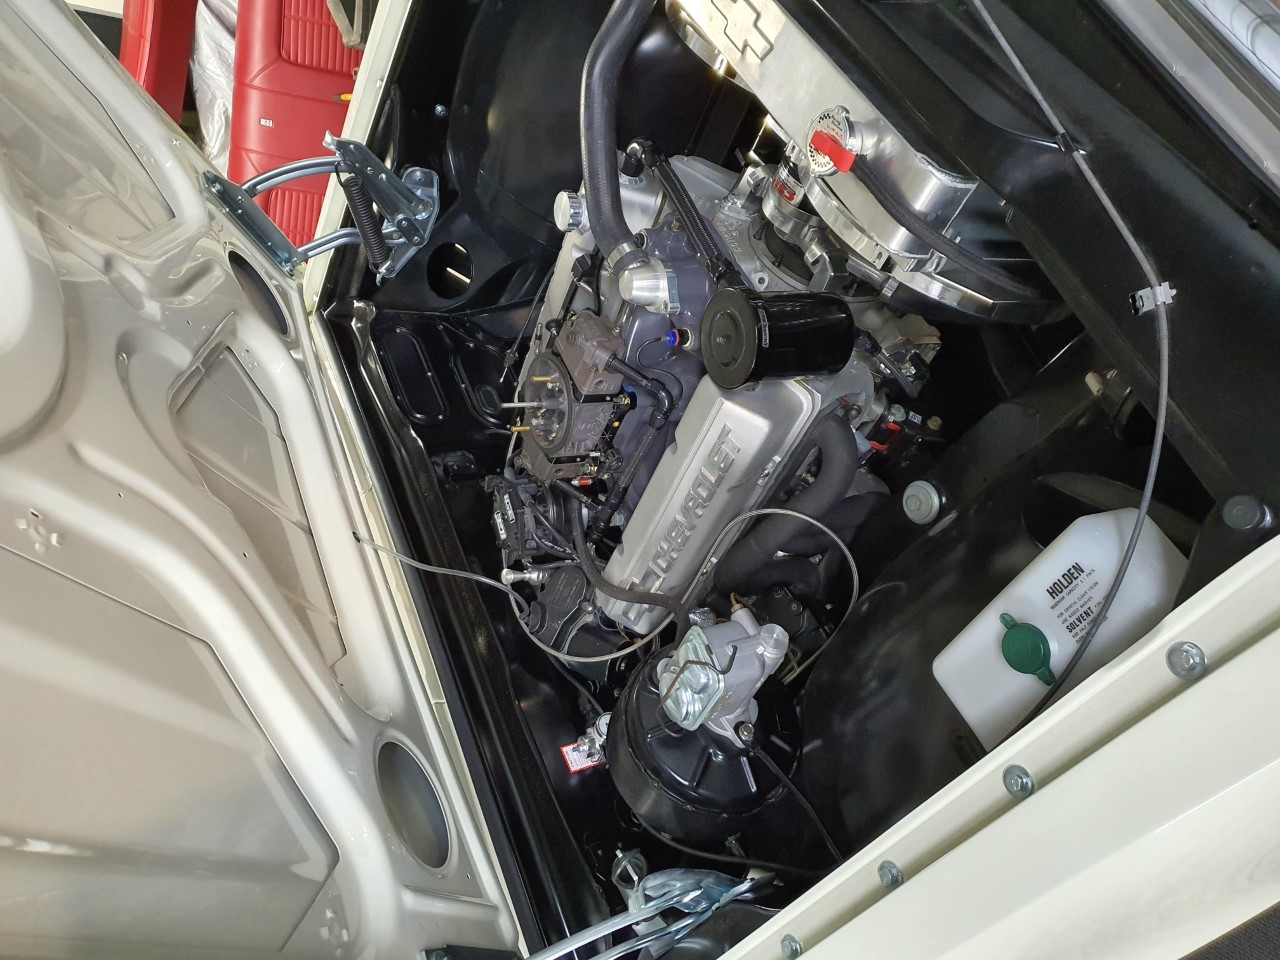 engine bay finished shot.
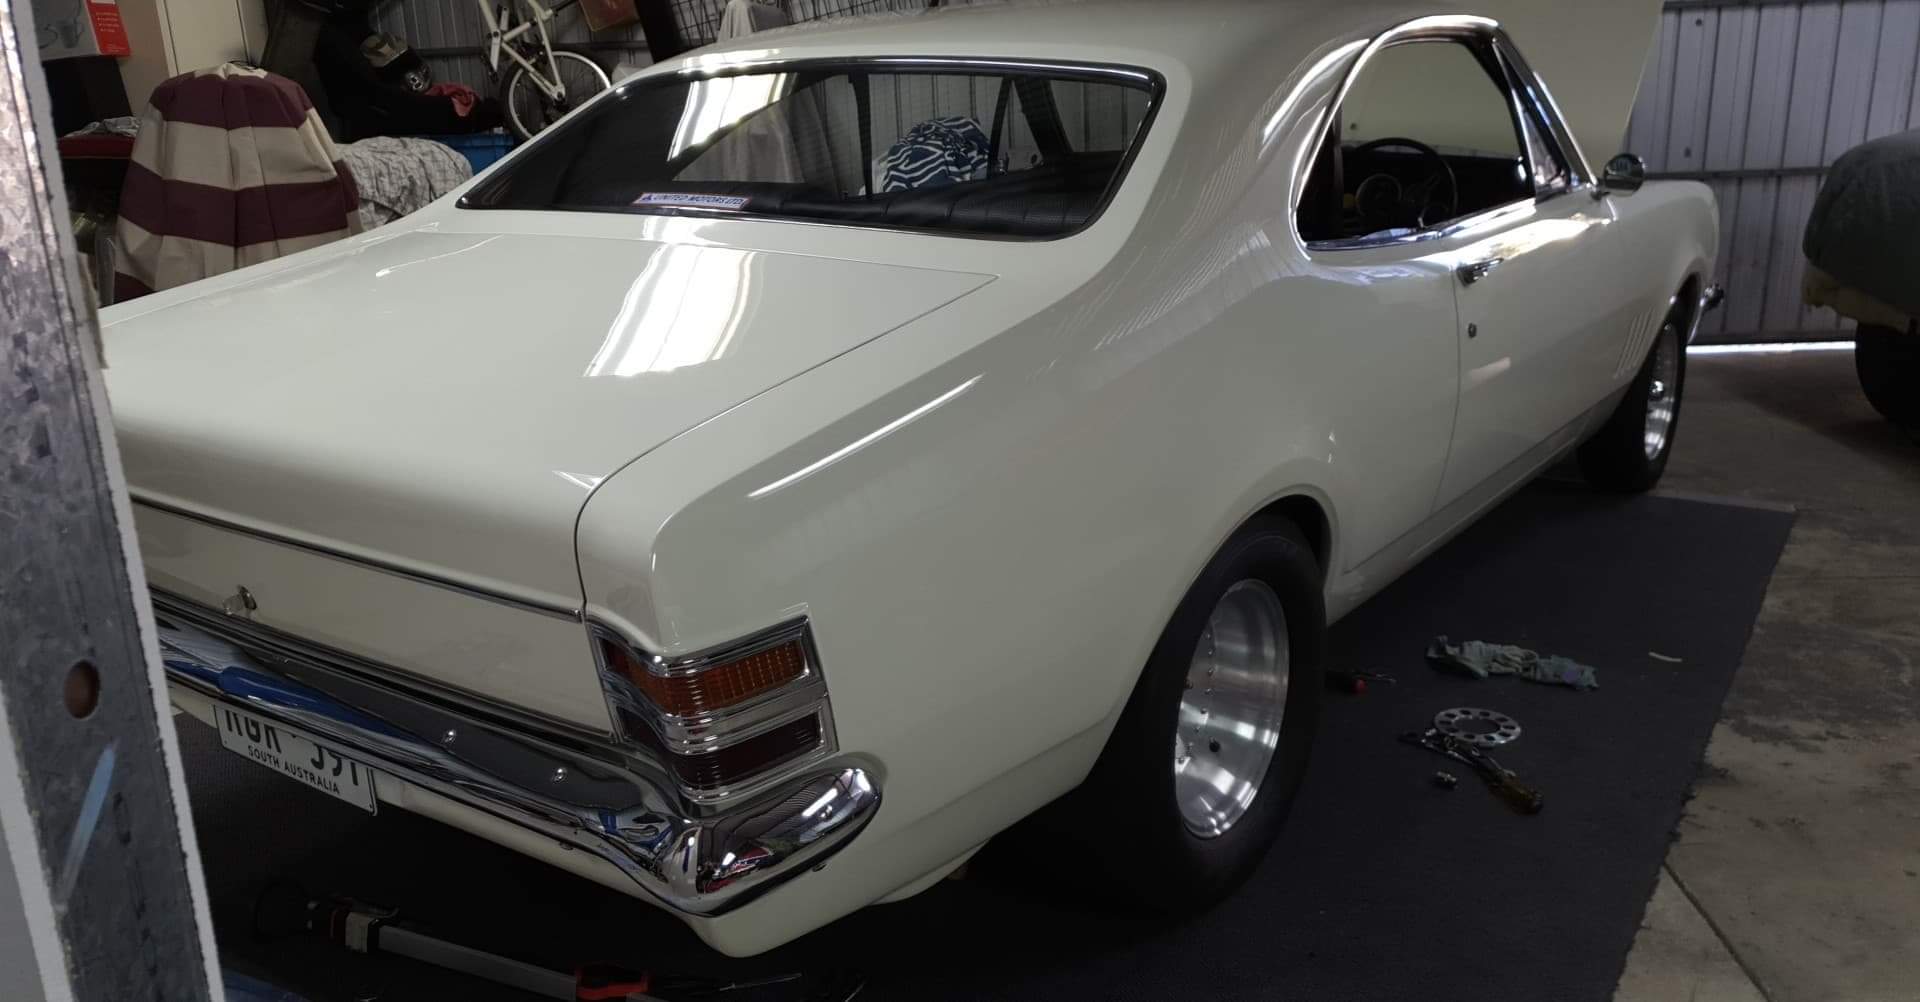 Final paint and panel prep Pro Customs Adelaide, real nice honest job,right on the money with price and results ,top quality tradesman makes a mockery of the first idiot that ripped me off- Custom and Classic cars Mount Barker. I actually am happy that Custom and Classic didnt finish my car as the rubbish i have seen that they had produced sums it up. Pro Customs in Adelaide ladies and gentleman super job ,real happy and appreciative of Anthony and workers efforts here. Also Romano for his efforts and good clean workmanship and price.....Over and out...............
Darren Lewis.
Quest for the best flowing Harley evolution head !!!!!
Recently being given a challenge by a customer to try produce 100hp from an 80 cube evo engine?????
Utilizing the older style S&S SUPER STOCK heads and a 2 inch and 1.650 valvesizing.
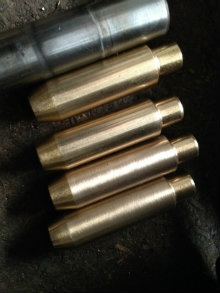
I have moved the valveguides further into the head to give adequate seal to retainer clearance and then turned the guides shorter and tapered them. I purchased Manley 2 thou over guides and after alot of measuring and machining will have a nice tight fitting guide that will not move.
The porting procedure is going to be strategic and i will take you through step by step to an on the way 300cfm @28'' @600 lift intake port...
Below are flow figures @28'' to see the progression so far of the port
100 200 300 400 500 600
Stock EVO int 62 132 180 205 217 224
S&S minor seatjob 75 133 173 208 229 246
Shortened guides,narrow guideboss 90 148 198 229 244 260
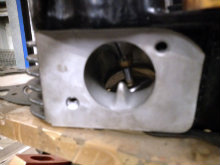
It can be seen how effective the guide finning and narrowing also shortening of the guides themselves. On the way to a projected 300 cfm port. The exhaust will have to be stepped up in its port flow as the required intake to exhaust percentage target is 80%. The air speed is also increasing as the port flows more which is ideal.
Next step is to lower the intake seat by .050 to match the installed spring height and tip length of the exhaust. From initially measuring the installed spring height the exhaust came in at 1.8 inch and using the Crane springkit offered 160 lbs seat pressure which is ideal for this setup. The intake needing to be lowered to match by .050 thou.
Using the Mondello multi angle cutter offering a 1mm seat and full radius from 60 degree to the 15 degree top blend.
now flowing intake 96 167 197 232 272 286
After another session my figures are increasing right through the range with more guide finning and the mondello cut seat with a larger 15 degree top cut it came out a treat. Now i am at the pointy end .
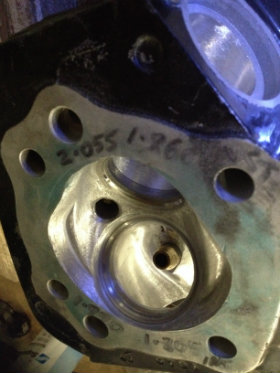
After another porting session picking up flow midrange by widening the bowl and finning the guideboss more.
intake 97.5 158 202.6 241 277 289
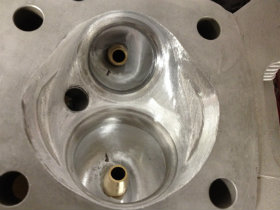
I am quiet happy now with the final intake flow and dont want to touch it any further,,,,now going onto the exhaust.
After considerable porting on the exhaust finning and narrowing the guide boss and blending the port to bowl seat angles and short turn work the result is pleasing
std S&S port with seat job 90 142 176 192 208 217
porting etc finished port 96 142 179 205 221 233
An exhaust to intake percentage @600 lift of 81 % well within target.
 DarrenLewis.